Quick and Easy Email Validation Tutorial
Here is a quick and easy tutorial to show you how to mass validate email addresses in a dataset, all automated and directly from the browser. In this particular example, we will generate an "email validation report" with a sample CSV file, however these same steps can be followed for similar results with any supported SQL-based Cloud database.
Step 1: Register on the Interzoid site to get an API key. You will need to provide this key to run the match report within the tutorial. Registration and receiving an API key is free and no credit card is required.
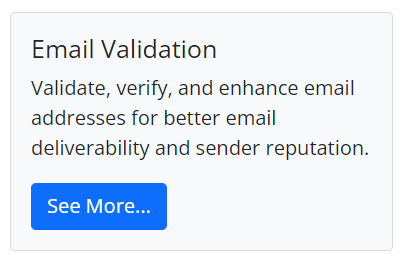
Step 2: Go to the Interzoid Cloud Connect Website and click the "Email Validation" square.
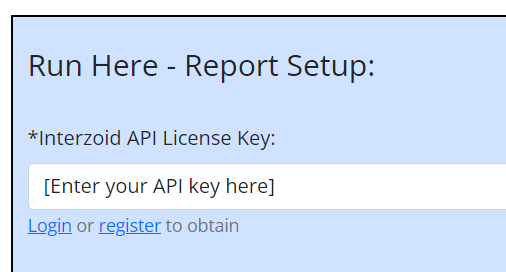
Step 3: You will now be at the Email Validation Web application. Under "Report Setup", first provide the API key you now have after registering in Step 1. You can go to "Account" on the menu if you need to login and get your API key. Since the system is aware that this is a tutorial CSV data file we will be using, no credits will be subtracted from your Interzoid account.
Step 4: Select the "Database Connection Type". For this tutorial, select "CSV File" as this is what we will be using.

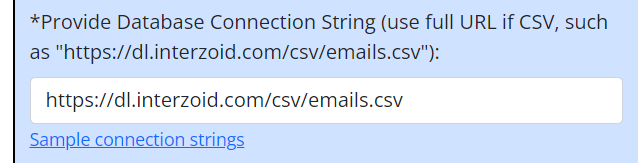
Step 5 For "Provide Database Connection String", since this is a CSV file, we will provide the URL Web address of the location of the file that we will analyze and validate. We have a sample file stored on AWS S3 that we will use for this tutorial. Enter the following in the edit box: "https://dl.interzoid.com/csv/emails.csv". You can download the file and open it up with any text or CSV viewer to see the contents.
Step 6: For "Table Name", Enter "CSV" since this is a CSV file. If this were a SQL database, this is where the table name would be entered.

Step 7: For "Column Name", we will enter the column number in the CSV file that we will be analyzing and validating. The first column from the left in a CSV file starts with "1". This is what we will be using here, so enter "1" in the edit box.

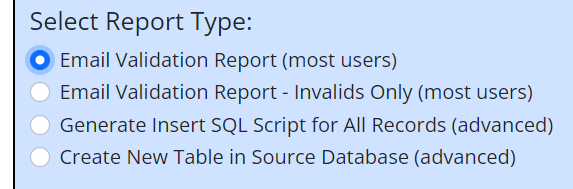
Step 8: The next two edit boxes we will leave for now. The last thing to do is to "Select Report Type". For this tutorial, ensure "Email Validation Report" is selected.
Step 9: Click "Connect and Run Report". What happens here behind the scenes is that for each record in the CSV file, the data in the selected column will be sent to Interzoid's Email Validation API to validate the email address algorithmically and via various Web sources.
That's it! The same process can be used with any Cloud-accessible CSV file or Cloud SQL database. The Database Connection String is all that's required. You can also run the same file against the "Email Validation Report - Invalids Only" as part of the free demo tutorial as well and no credits will be used.
For instructions on how to include email validation of a dataset, including scheduled runs, ongoing processing, or part of a data pipeline, see the email validation workflow guide.
Questions? Contact support@interzoid.com - we are happy to help.